Why Does a Table Saw Burn Wood and How to Stop It
A table saw burns wood when the blade rubs the board instead of slicing it cleanly. The usual causes are a dirty or dull blade, a fence that is not parallel to the blade, a feed rate that is too slow, or a blade that is wrong for the cut. Clean the blade, check your alignment, keep a steady feed and match the blade to the job.
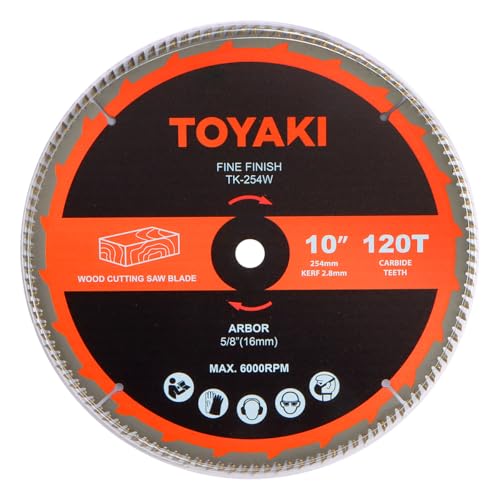 TOYAKI TK-254WBest overall
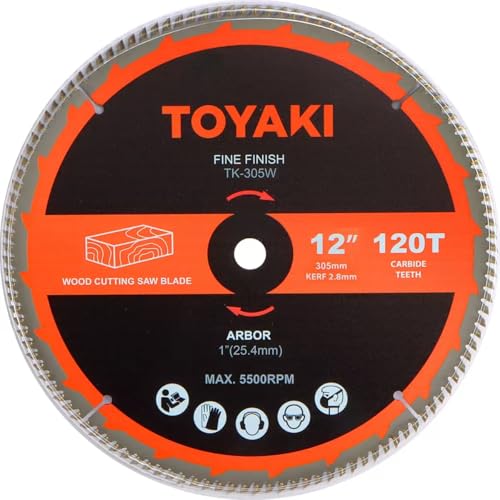 TOYAKI TK-305WTied for largest diameter
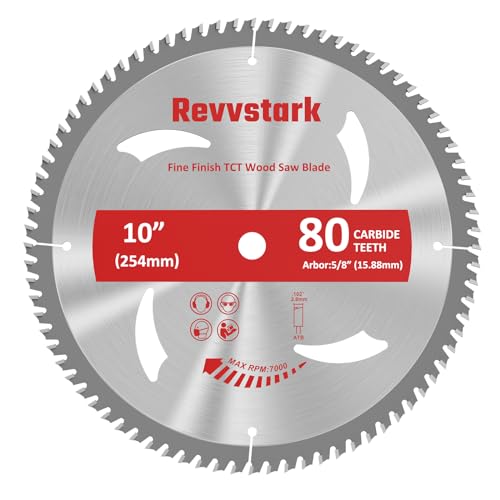 Revvstark aced8abf-b0fd-4386-aca0-7310064ea644Anti-kickback tooth design
What a burn mark really tells you
A burn mark is friction. Wood fibers should be cut by the teeth, then cleared out of the kerf (the slot the blade makes). When the blade rubs against the wood, or when the teeth cannot clear the waste fast enough, heat builds up and scorches the surface.
The good news is that the pattern of the burn points to the cause. Burns along the whole length of a rip cut often mean a pinching or alignment problem. Burns that start partway through usually mean the wood is moving or closing on the blade. Burns only at the start or end of a cut often come from hesitating while feeding.
Dense hardwoods and some fruitwoods are more prone to scorching because they resist the blade more and leave less room for error. Cherry and maple are well known for it. If you see burning mostly on those species, the fixes below matter even more.
The most common causes
Most burning traces back to a short list of problems. Work through them in order, because the first few are the cheapest to fix.
- A dirty blade: resin and pitch build up on the teeth and body, which makes the blade drag and heat up.
- A dull blade: worn teeth crush and rub the wood instead of shearing it.
- A fence that is not parallel to the blade: the board gets squeezed against the back of the blade as it passes.
- A slow or stop-and-go feed rate: the blade sits in one spot and rubs.
- The wrong blade for the cut: a crosscut blade used for ripping, or a tooth count that is too high, cannot clear chips quickly.
- Wood that is moving: boards with internal stress can pinch the blade as the cut opens up, and warped stock can wander off the fence.
- A blade that is wobbling or poorly mounted: a bent blade, debris on the arbor, or a loose nut changes how the blade tracks.
Fix the blade first
Start with the blade because it is the most frequent culprit. Unplug the saw, remove the blade and look at the teeth. If you see brown or black sticky buildup, clean it with a resin remover made for saw blades and a soft brush. Avoid wire brushes on carbide teeth, and wear gloves and eye protection when handling a blade and cleaning chemicals.
If the blade is clean but the teeth look rounded, chipped or missing carbide, it needs sharpening or replacing. A sharp blade should cut with modest pressure and make fine, light-colored dust or chips. Hot, dark dust and a burning smell suggest it is time for a change.
Blade type matters too. For long cuts along the grain, a ripping blade with fewer teeth and deeper gullets clears waste better and runs cooler than a high-tooth-count finishing blade. If you cut a lot of dense stock, our guide to the best table saw blade for ripping hardwood compares options built for that job. For a broader look at general purpose and specialty choices, see our best table saw blades page.
Check alignment and setup
If a clean, sharp blade still burns, check the saw itself. Two alignments matter most: the blade to the miter slot, and the fence to the blade. Both should be parallel. If the back of the blade is closer to the fence than the front, the board gets pinched as it exits.
A quick way to check is to measure from the miter slot to the front and the back of the same tooth, then compare. Your saw's manual explains how to adjust the trunnions (the mounting that holds the blade assembly) if the readings differ. Many people set the fence with a tiny bit of extra space at the rear, but follow your manual and keep the change very small.
Also confirm the blade is tight, the arbor flange is clean and the riving knife or splitter is lined up with the blade. A riving knife that is out of line can rub the board and cause burning of its own. These setup details are worth checking on any saw, whether it is a cabinet model or one of the portable units on our best jobsite table saw list, since lighter saws can shift out of alignment during transport.
Feed rate, technique and the wood itself
Feed rate is the part you control every cut. Push at a steady pace that lets the blade cut without bogging down or racing. Stopping partway through a cut is a common way to leave a burn line, so plan your hand position and push stick use before you start.
Use the right support. Keep the board flat on the table and tight to the fence, and use a push stick or push block to keep your hands away from the blade. Never stand directly behind the blade path, because a pinched board can kick back.
Here is a quick way to match symptoms to fixes:
| What you see | Likely cause | What to try |
|---|---|---|
| Burns along the whole cut edge | Dirty or dull blade | Clean the blade, then sharpen or replace it |
| Burn on the back side of the cut | Fence not parallel to blade | Re-check and adjust alignment |
| Burn at the start or stop of a cut | Hesitating or stopping | Use a steady, continuous feed |
| Burns on dense hardwood only | Wrong blade or slow feed | Use a ripping blade and feed a bit faster |
| Burn plus board closing on the blade | Stressed or warped wood | Use a riving knife and joint one edge first |
Safety notes before you adjust anything
Always unplug the saw before changing a blade, cleaning it or adjusting alignment. Pulling the plug is more reliable than flipping a switch.
Wear safety glasses and hearing protection whenever the saw runs. Use a dust mask or a dust collection setup, since fine hardwood dust is not good to breathe. Keep the blade guard or riving knife in place when the cut allows it.
If you notice smoke, a strong burning smell or a board binding on the blade, stop and shut the saw off. Wait for the blade to stop completely before you reach near it. Do not try to force a stuck board through, because that is how kickback happens.
A simple checklist to stop burning
When burn marks show up, run through this sequence. It takes only a few minutes and solves most cases.
- Unplug the saw and inspect the blade for pitch and dull teeth.
- Clean or replace the blade, and use a ripping blade for rip cuts.
- Check that the blade is flat, tight and spinning true.
- Confirm the fence and miter slot are parallel to the blade.
- Align the riving knife with the blade.
- Plug in, wear eye and ear protection, and make a test cut on scrap.
- Feed steadily without stopping, using a push stick.
Frequently asked questions
Can I sand off table saw burn marks?
Yes. Light burns usually sand out or can be removed with a hand plane or a light pass on a jointer. Deep burns may need a fresh cut, so fix the cause first or the marks will come back.
Does a higher tooth count prevent burning?
Not always. More teeth can mean more friction and less room to clear chips, so a high-tooth-count blade can burn more in thick or dense stock during rip cuts. Match the tooth count to the cut.
Why does my saw burn only when ripping?
Rip cuts run along the grain for a long distance, so any pinching, misalignment or slow feed has more time to build heat. A blade built for ripping and a well-aligned fence usually help.
How often should I clean my blade?
Clean it whenever you see sticky buildup or notice more effort and smoke in the cut. Sticky woods and heavy use will call for cleaning more often.