How to Use a Circular Saw With a Guide Rail
Clamp the guide rail along your cut line, rest the saw's base plate against the rail, and push the saw smoothly through the cut without letting it drift away from the rail. Measure the offset between your blade and the edge of the base plate first so the rail lands in the right spot. A guide rail turns a freehand cut into a repeatable, straight one.
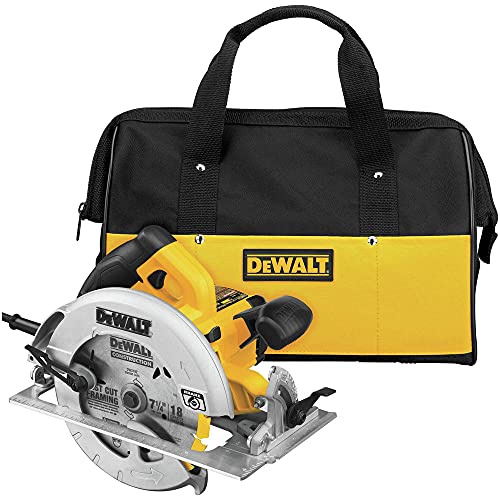 DEWALT DWE575SBWidest bevel with brake
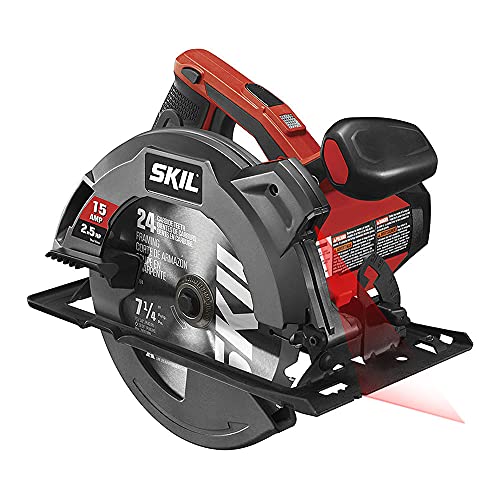 Skil 5280-01Best overall
 Skil 5080-01Light corded option
What a Guide Rail Does
A guide rail is a straight edge that your saw's base plate slides against. Instead of steering the saw by eye, you let the rail keep the blade on a fixed line. This helps most on long cuts in plywood, MDF, doors and worktops, where a small wobble shows up as a crooked edge.
Some systems pair a purpose-made rail with a matching saw that locks onto it. Others are just a straight board or metal bar that you clamp down. Both work on the same idea: the saw follows the edge, and the edge follows your line.
If you are still choosing a saw to pair with a rail, our best circular saw comparison lines up published specifications side by side.
What You Need Before You Start
Gather your tools before you mark anything. Having everything within reach makes it easier to set up carefully and avoid rushing the cut.
The saw matters, but so does the blade. A fine-tooth blade usually leaves a cleaner edge on sheet goods, while a coarser one cuts faster in framing lumber. For help choosing, see our best circular saw blade comparison.
- A circular saw with a flat, undamaged base plate
- A straight guide rail, or a straight board or strip of sheet material
- At least two clamps, plus a tape measure and pencil
- A sacrificial surface such as foam insulation board or scrap lumber under the work
- Safety glasses, hearing protection and a dust mask
Step by Step: Cutting With a Guide Rail
Follow these steps in order. The most common mistakes come from skipping the offset measurement or leaving the rail loose.
- Measure the offset. This is the distance from the blade's cutting edge to the edge of the base plate on the rail side. Write it down.
- Mark your cut line on the workpiece, then mark a second line parallel to it, one offset distance away. The rail edge goes on that second line.
- Clamp the rail along the offset line. Check it cannot slide, and keep clamps clear of the saw's path.
- Set the blade depth so it extends about a quarter inch (6 mm) below the material. Less exposed blade means less kickback risk and less noise.
- Support the work so the offcut cannot pinch the blade or fall mid-cut.
- Rest the base plate on the material with the blade clear of it, and press the plate edge against the rail.
- Start the saw, let it reach full speed, then push forward at a steady pace with light sideways pressure toward the rail.
- Keep the saw running until the cut is done and the blade has cleared the material. Release the trigger and wait for the blade to stop before lifting the saw.
How to Make a Simple Circular Saw Guide
You can build a basic guide in a few minutes from a strip of straight plywood or MDF and a wider base piece. Glue and screw a narrow fence strip on top of a wider base so one edge of the strip is straight and true.
Run your saw along the fence once, with the base plate pressed against it. The saw trims the wide base to exactly the blade's path. From then on, the trimmed edge of the base shows precisely where the blade will cut, so you can line it up directly with your mark and skip the offset math.
Keep the guide for one saw only. A different saw has a different offset, and the trimmed edge will not match its blade.
| Guide Type | Best For | Main Limit |
|---|---|---|
| Clamped straight board | Quick one-off cuts | You must calculate the offset each time |
| Shop-made trimmed guide | Repeated cuts with one saw | Only matches the saw used to trim it |
| Purpose-made rail system | Long, frequent, precise cuts | Often designed around specific saw models |
Tips for Cleaner, Straighter Cuts
On most handheld circular saws the teeth exit upward through the top face, so cut with the good face of the material down. If the good face must be on top, scoring the line with a knife first can help reduce tear-out.
Check the rail's edge for nicks or dust before each use. Debris trapped under the rail or base plate can nudge the cut off line. A sharp, clean blade also helps, so replace a dull one before an important cut, and browse our best circular saw blade page if you need options.
Cordless saws work well with a guide rail, and the lack of a cord removes one thing that can snag on the rail. If that appeals to you, read our best cordless circular saw comparison.
Safety Notes
Always unplug a corded saw or remove the battery before changing blades or adjusting depth. Wear safety glasses and hearing protection every time, and a dust mask when cutting MDF or treated lumber.
Keep both hands on the saw, and keep your body out of line with the blade in case of kickback. Never reach under the work while the blade is spinning, and make sure the blade guard returns freely after each cut.
Frequently asked questions
Can I use any straight board as a guide rail?
Yes, if it is truly straight and stiff enough not to flex under pressure. Check it against a known flat edge, and clamp it firmly so it cannot shift.
Why is my cut drifting away from the rail?
Usually the base plate is not held tight against the rail, or the rail is loose. Apply light sideways pressure toward the rail and recheck the clamps.
Do I need to measure the offset every time?
Only if you use a plain clamped board. A trimmed shop-made guide or a matched rail system builds the offset in, so you can align it directly to your cut line.
Does blade depth affect accuracy?
A shallower setting generally gives a more stable cut and less kickback risk, though the blade still needs to clear the underside of the material.