What Is the 1 and 2 Setting on a Drill?
The 1 and 2 on a drill are speed settings. Setting 1 is low speed with high torque, best for driving screws and big bits. Setting 2 is high speed with less torque, best for drilling small holes in wood and metal.
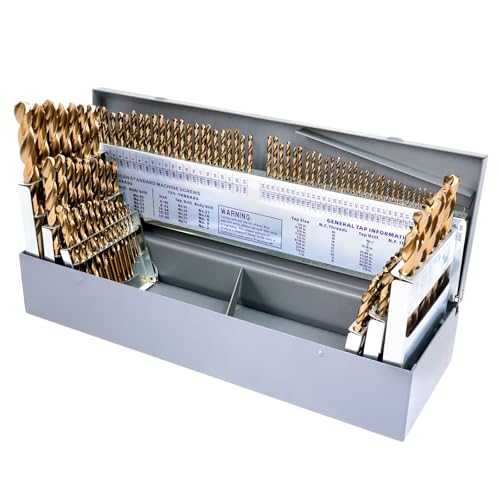 SEDIANAS 115 PCS Cobalt Drill Bit Set
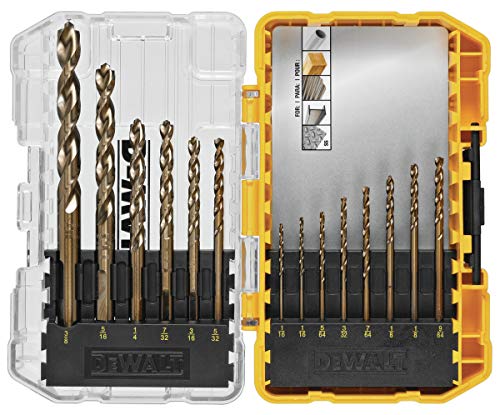 DEWALT DWA1240Cobalt set with adjustable case
 CRAFTSMAN CMAM2214Best overall
What the 1 and 2 switch actually does
Look on top of your drill, usually just behind the chuck. You will find a small slide switch marked 1 and 2. On some models there is also a 3. This is the speed range selector, and it changes the gearing inside the drill's gearbox.
A drill motor can only do so much work. The gearbox lets you trade speed for turning force, and the reverse. In position 1, the chuck turns slowly but with more twisting force, which is called torque. In position 2, the chuck turns fast but with less torque.
Think of a bike with gears. A low gear helps you climb a hill with less effort, but you pedal many times for little distance. A high gear gets you moving fast on flat ground. The 1 and 2 switch works the same way for your drill.
Setting 1 versus setting 2 at a glance
The table below sums up how the two ranges differ. Exact speeds vary by model, so check your drill's manual or the specifications on the label for the numbers that apply to yours.
| Feature | Setting 1 | Setting 2 |
|---|---|---|
| Chuck speed | Low | High |
| Torque | High | Lower |
| Best for | Driving screws, large bits, hard materials | Drilling small holes, light work |
| Control | More control, less chance of slipping | Faster, but easier to overshoot |
| Heat at the bit | Less | More if you push too hard |
When to use setting 1
Use the low range whenever you need force and control more than speed. Driving screws is the classic case. A slow, strong turn pulls the screw in without stripping the head or snapping the screw.
Low speed is also the right choice for large drill bits, such as spade bits, hole saws, and Forstner bits. These cut a wide path and need a lot of torque. Running them fast can overheat the bit and make the drill hard to hold.
Hard materials like metal and masonry also call for the slower range. Fast spinning heats the bit quickly and dulls it. Slow and steady keeps the cutting edge cooler.
- Driving and removing screws and bolts
- Drilling with large-diameter bits and hole saws
- Drilling steel or other hard metal
- Mixing paint or thin compound with a mixing paddle
- Any job where you want extra control at the start
When to use setting 2
Use the high range for quick, light work. Drilling small holes in softwood, plywood, or plastic with a small twist bit is a good fit. The bit cuts cleanly at higher speed and the drill does not need much torque for a small hole.
High speed is also handy for drilling pilot holes with thin bits and for light sanding or polishing attachments, if the drill is meant for them. If the drill bogs down or the motor sounds like it is straining, switch back to setting 1.
A simple rule helps: if the job needs power to push through, go low. If the job needs speed and the bit is small, go high.
1 and 2 are not the same as the clutch numbers
Many people mix these up. The 1 and 2 switch on top controls speed. The numbered ring behind the chuck is the clutch, and it controls how much torque the drill delivers before it clicks and stops turning the bit.
On the clutch ring, a lower number means less torque and a higher number means more. This helps you drive screws to the right depth without overdriving them. Many drills also have a drill symbol on the ring. That setting bypasses the clutch and is the one to use for drilling holes.
So you can combine them. For driving screws, set the speed switch to 1 and pick a clutch number that suits the screw and material. For drilling a hole, set the ring to the drill symbol and choose 1 or 2 based on the bit size and material.
How to change the speed setting safely
Always stop the drill completely before you move the switch. Sliding it while the chuck is spinning can damage the gears. If the switch feels stuck, turn the chuck by hand a little while pushing gently on the switch, and it should slide into place.
Take a few safety steps each time you work with a drill:
- Wear safety glasses, because chips and dust can fly off the bit.
- Use hearing protection when drilling masonry or working for a long time.
- Clamp small pieces so they cannot spin and catch your hand.
- Check for hidden wires and pipes before drilling into walls.
- Remove the battery or unplug the drill before changing bits or checking the gearbox.
- Keep a firm grip with both hands on bigger drills, because torque can twist the drill suddenly.
Getting more from your setup
The speed switch matters most when the drill and the bit work well together. A sharp, well-matched bit cuts easier at either setting, and a worn bit makes any drill struggle. If you are shopping for accessories, our guide to the best drill driver bit set compares options for both drilling and driving.
If your drill lacks a speed switch or you feel it limits what you can do, a better tool may help. You can see how models compare on features like gearing, chuck size, and clutch settings in our best drill comparison. Look for a two-speed gearbox if you do a mix of drilling and screwdriving.
Frequently asked questions
What does the 3 setting mean if my drill has one?
A drill with three ranges adds another step. Usually 1 is the lowest speed with the most torque, and the highest number is the fastest with the least torque. The middle setting sits in between. Check your manual for the exact ranges.
Can I switch from 1 to 2 while the drill is running?
No. Stop the chuck first, then move the switch. Changing gears while the motor is turning can wear or damage the gearbox.
Which setting is best for drilling into metal?
Start with setting 1. Metal needs torque and slower speed to keep the bit cool. Use cutting oil if the metal is thick, and ease off if the bit gets hot.
Why does my drill stall on setting 2?
High speed gives less torque. If the bit is large, dull, or the material is hard, the motor can bog down. Switch to setting 1 and apply steady pressure.